
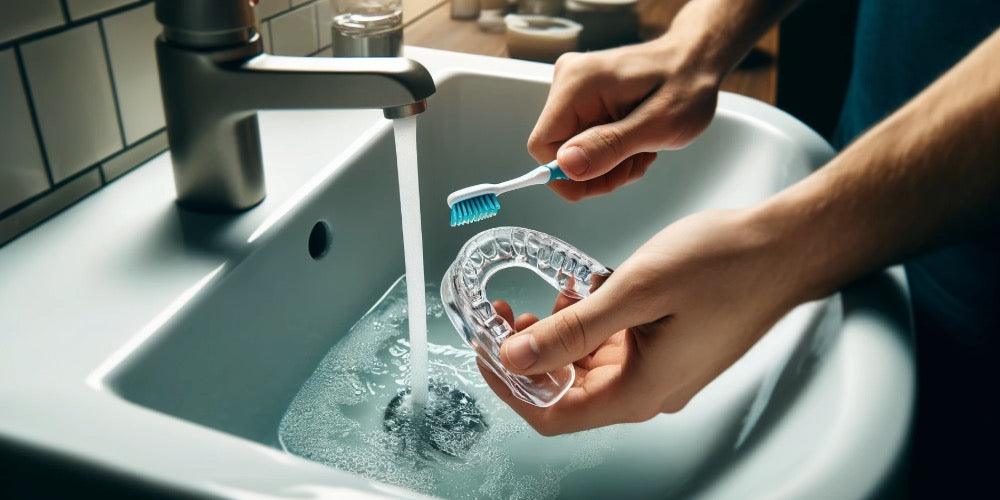
A custom night guard is not cheap. Depending on the type and where it’s made, you’re looking at a meaningful investment in protecting your teeth from grinding. The frustrating part is that most night guards that get replaced prematurely don’t fail because of grinding wear. They fail because of how they were cleaned and stored.
Or not cleaned. That’s usually the real problem.
At Linden Market Dental Centre in Winnipeg, Dr. Morgan Winchar and Dr. Les Rykiss fit patients with custom night guards regularly, and the same questions come up every time: how do I clean it, what should I avoid, and how do I know when it actually needs replacing?
Here’s the practical version of those answers.
Rinse It Immediately After Removing It
The single most useful habit to build is rinsing your night guard under cool water the moment you take it out in the morning. Saliva dries quickly. Once it dries onto the guard’s surface, it leaves a film that becomes harder to remove and creates a layer where bacteria can settle in.
This takes about ten seconds. It makes every other cleaning step easier because you’re not working against dried-on residue.
One important note: always use cool or lukewarm water. Hot water warps the material custom guards are made from and will change the fit over time. A guard that no longer fits properly ends up in a drawer instead of in your mouth, which defeats the purpose entirely.
Clean It Properly Every Day
Rinsing is not the same as cleaning. Once a day, the guard needs a proper clean.
What works:
- A soft-bristled toothbrush (not your regular one) and a small amount of mild dish soap or hand soap. Scrub gently on all surfaces, rinse thoroughly, and let it air dry before storing
- Non-abrasive toothpaste can be used occasionally, but be cautious. Some toothpastes are more abrasive than they look and can scratch the guard’s surface. Scratches create microscopic grooves where bacteria accumulate more easily
What doesn’t work, or actively causes damage:
- Regular toothpaste is used daily, particularly whitening formulas
- Mouthwash as a soak. Alcohol-based mouthwashes can degrade certain guard materials over time
- Dishwasher. The heat warps the guard, sometimes beyond recovery
- Boiling water. Same problem
- Bleach or harsh household cleaners. These aren’t designed for something that sits in your mouth for eight hours
Give It a Deeper Clean Once a Week
Daily brushing keeps surface buildup under control. A weekly soak handles the rest.
A few options that work well:
- Denture tablets dissolved in cool water. Soak the guard for 15 to 30 minutes, then rinse and brush gently. These tablets are designed for oral appliances and won’t damage the material
- White vinegar soak. Dilute it with equal parts water and soak for 20 to 30 minutes. Rinse very thoroughly afterward to remove the vinegar taste and smell
- Baking soda paste. Mix baking soda with just enough water to form a paste and use it with the soft brush. Rinse well
Ask Dr. Winchar or Dr. Rykiss which option suits your specific guard material. Soft guards and hard acrylic guards respond a little differently to soaking, and knowing which type you have helps you choose the right approach.
Store It Correctly
How you store your night guard between wears affects how long it lasts almost as much as how you clean it.
The basics:
- Always let the guard air dry completely before putting it in the case. A damp guard sealed in a closed case is a breeding ground for bacteria and mould
- Store it in a ventilated case, not an airtight container. Most guards come with a case that has small ventilation holes for this reason
- Keep the case clean, too. Wash it with soap and water a couple of times a week and let it dry before storing the guard inside
- Keep it away from heat sources, direct sunlight, and pets. Dogs in particular seem to find night guards irresistible and can destroy one in minutes
Watch for These Signs That It Needs Replacing
A well-maintained night guard can last several years. But maintenance can only extend the life of the material so far. Grinding eventually wins.
Signs your night guard is due for replacement:
- Visible cracks, splits, or holes in the material
- Areas that have worn down so thin you can see light through them
- The fit has changed, and it no longer sits comfortably or feels loose
- It has a persistent odour that cleaning no longer resolves
- You’re waking up with jaw soreness or headaches again, despite wearing it consistently
If any of these apply, bring the guard to your next appointment at Linden Market Dental Centre. Dr. Rykiss or Dr. Winchar can assess whether it still provides adequate protection or whether a replacement is the better call.
Bring It to Your Regular Appointments
Your hygiene appointments are a good opportunity to have the guard inspected professionally. The team can check for wear patterns, assess the fit, and clean it more thoroughly than home care allows.
It’s also worth mentioning any changes: if grinding has increased due to stress, or if you’ve had any dental work done recently that might affect the fit, the guard may need to be adjusted or refitted.
Book an Appointment at Linden Market Dental Centre in Winnipeg
Linden Market Dental Centre is currently accepting new patients and is a registered CDCP provider. If you grind your teeth and don’t yet have a night guard, or if your current one needs to be assessed, Dr. Winchar and Dr. Rykiss are available at the Winnipeg dental clinic to help.
Learn more about mouth guards and dental services at Linden Market Dental Centre, or contact the team to book your appointment.
Call (204) 487-2226 to reach your Winnipeg dentist. The clinic is at 877 Waverley St, Unit 7, Winnipeg, MB. Online booking is also available for new patient exams and hygiene appointments.